
Then, go back over everything and use a degreaser. This step is necessary unless you do not mind your paint removing. I normally utilize 180 grit sandpaper, but this does not truly matter much since the surface area will be painted. Anything between 120 and 220 will work simply fine. This is the most time consuming part, however an orbital sander it will make the job go much quicker - durable cabinet paint.
Make certain you get the edges well given that these surface areas will see the most use. First, vacuum the area to get the bulk of the dust you produced while sanding. Then wipe the cabinets down with a moist fabric. Grab your masking tape and tape off walls, floorings, countertops, and shelves within cabinets.
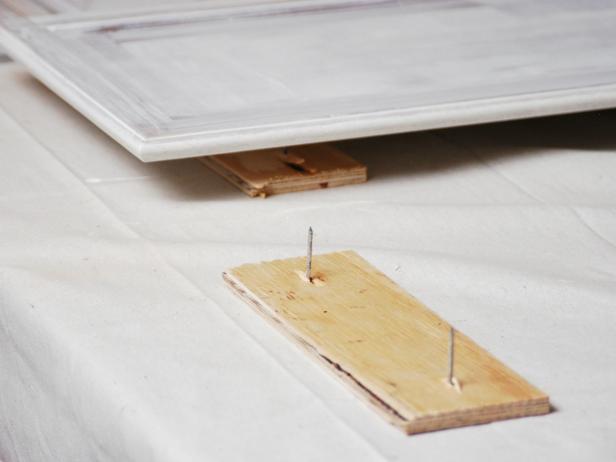
You'll require some racks to set the doors and drawers on while they dry. View the video above to see what I imply. Use a coat of high quality primer to all surfaces of the cabinets. The primer will help the paint stay with the surface better, giving you a longer enduring surface and it will reduce the amount of paint you require. dark chocolate milk paint cabinets.
Let the primer dry according to the label on the guide you are using. When the guide is dry, it's time to start painting! Use an even coat of paint utilizing whichever approach you choose to utilize (preferably a paint sprayer). Don't put it on too thick or you might have drips or other acnes in the paint.

Let the paint dry according to the application guidelines on the paint can in the past using a 2nd coat. You might be asking, do I truly require a second coat? YES! I do not care how great the paint is that you are using, what they state on the current paint commercial, or how well you apply the very first coat.
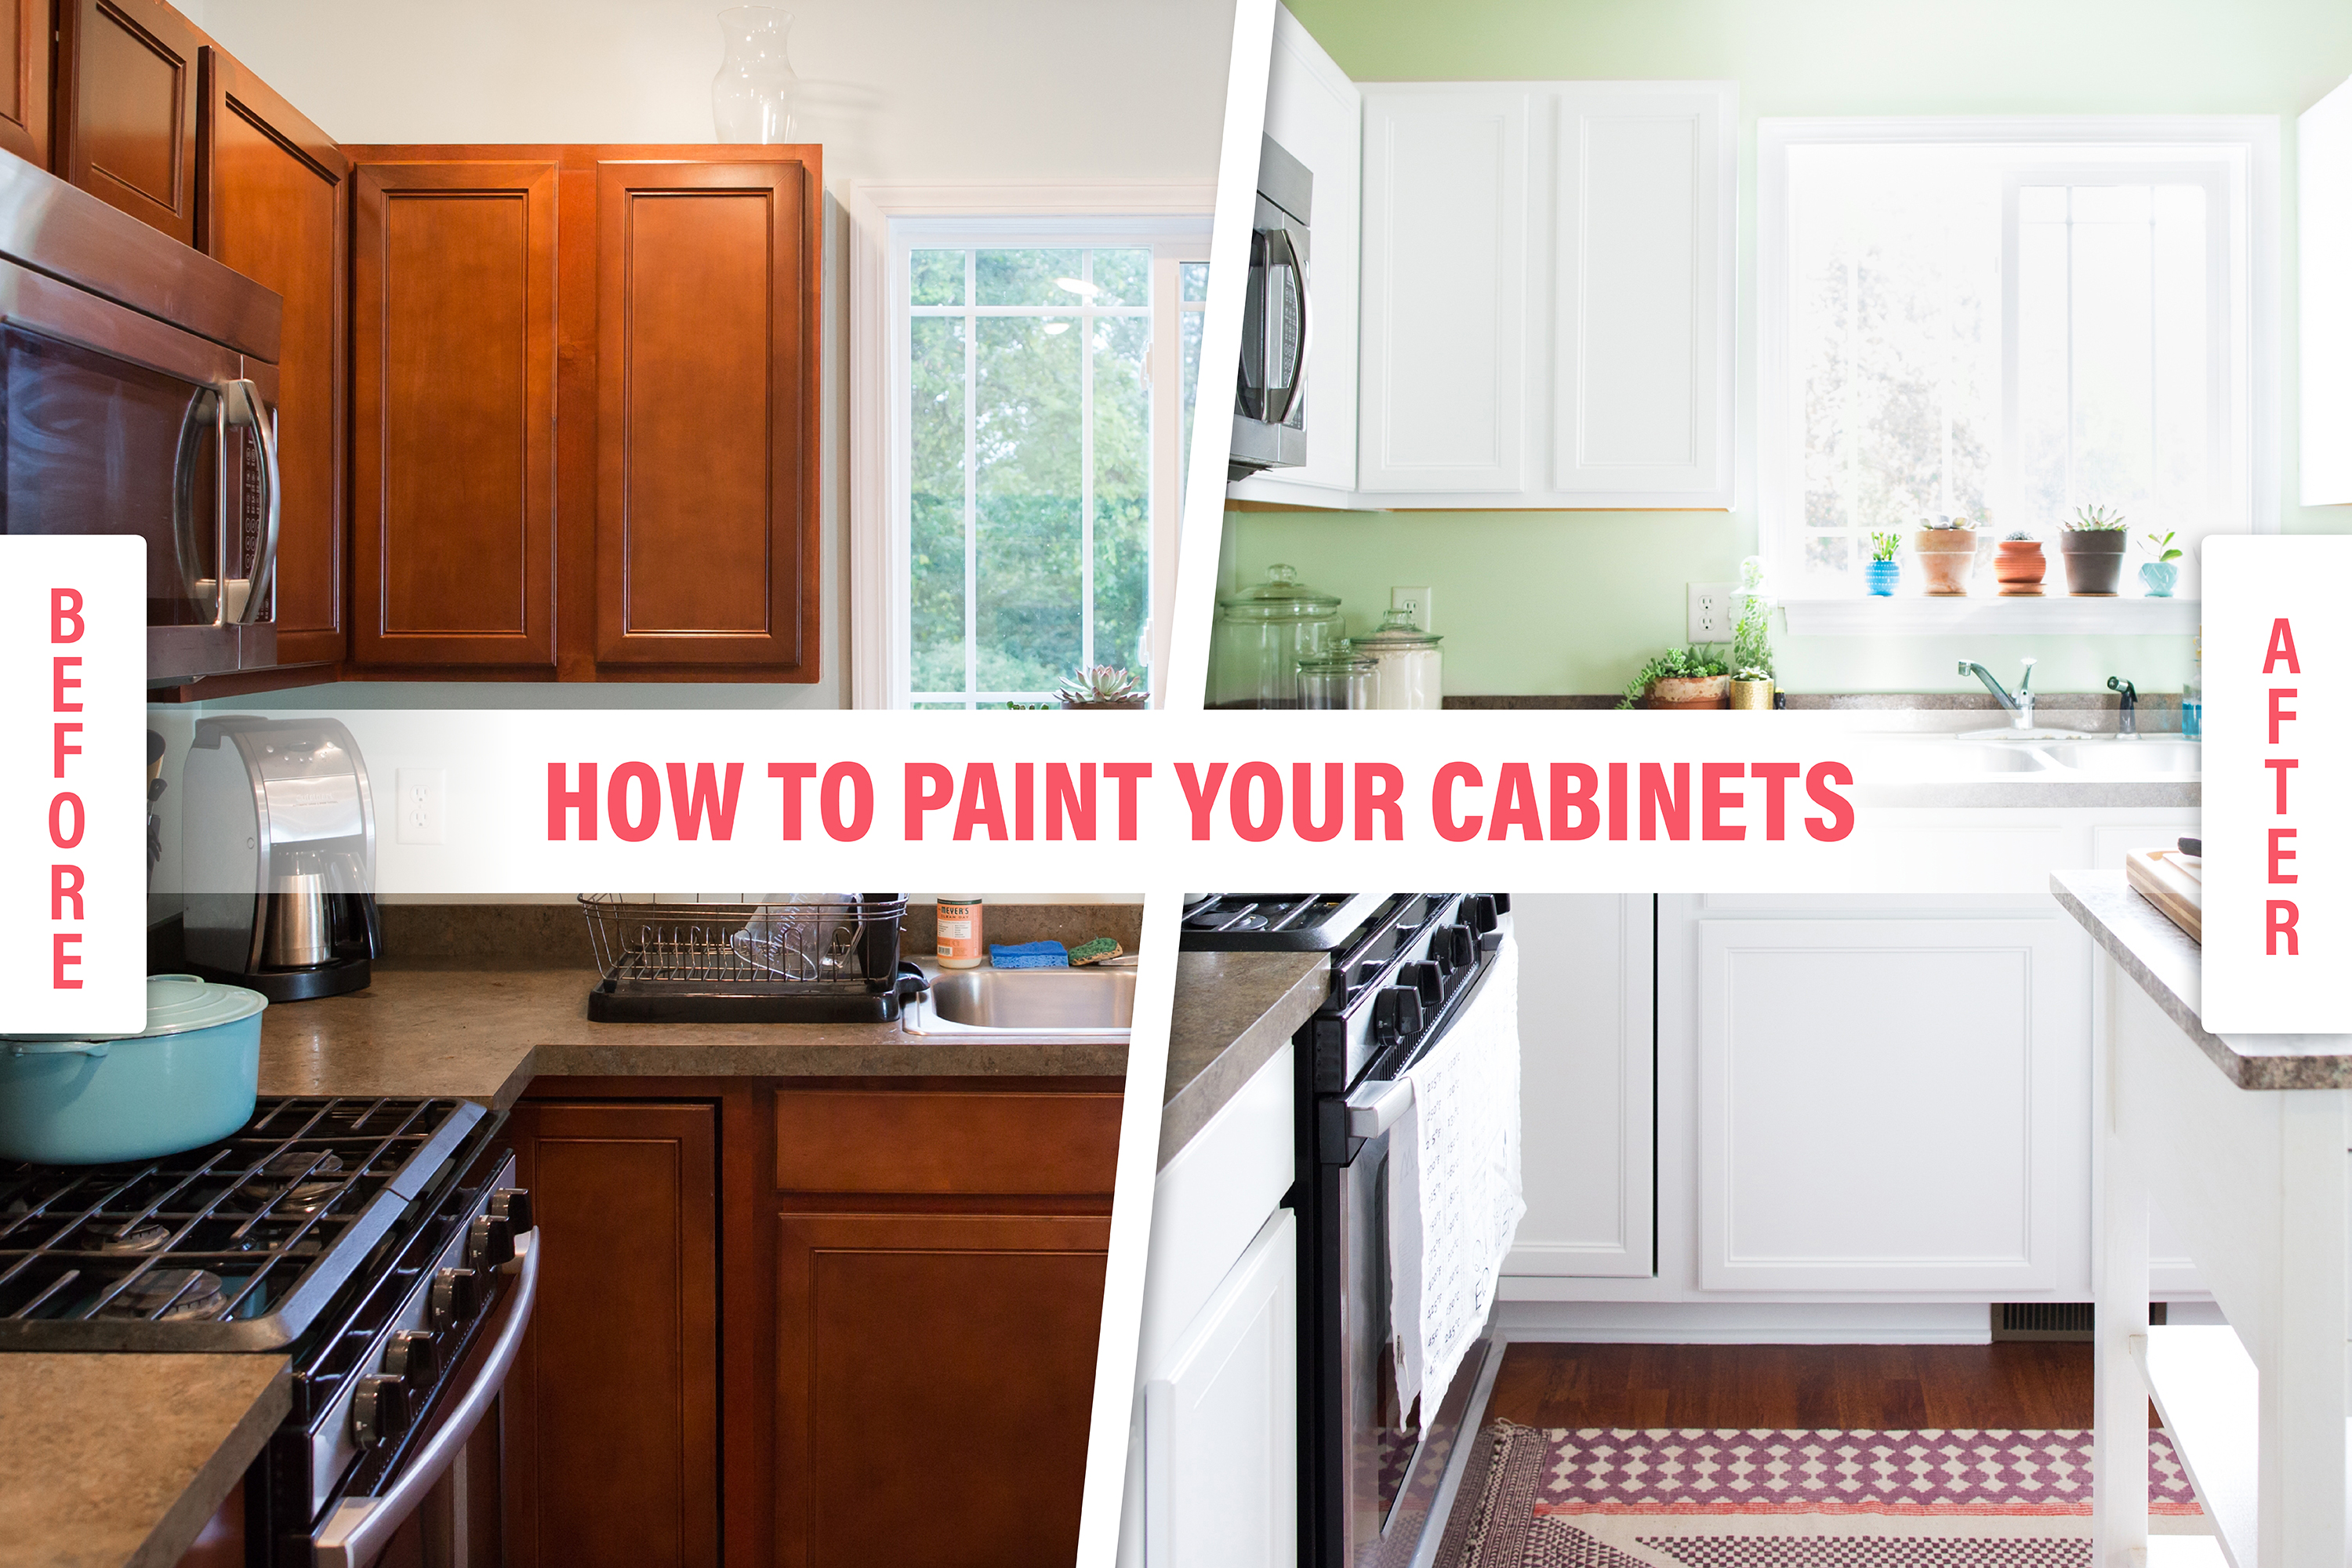
The One Thing I Wish I Knew Before Painting My Kitchen ... Things To Know Before You Get This
2 thin coats will always have a much better surface and much better protection than one thick coat. So stop squandering time trying to cut corners and simply plan on doing a 2nd coat (dark gray cabinet paint). Prior to attaching hardware, let the cabinets dry for a minimum of 24 hrs so the paint has a possibility to harden (preferably even longer).
( These are affiliate links and I get a little commission if you click and buy through the link. This does not cost you anything additional and assists support this blog site.) These will assist speed up the job, however are not needed. This is a concern that I dealt with and did a great deal of research study on.
After my research study and experience, I highly advise the Benjamin Moore Aura Semi-Gloss paint. It's not inexpensive (I believe I paid like $50/gallon) but you do not need much paint. I just used a single gallon for all of my cabinets. This is a great paint because it's durable, it offers a smooth finish, and is easy to deal with.
Obviously, there are a lot of other high quality paints out there, but I certainly recommend going luxury. You will not want to repaint your cabinets 2 years down the roadway due to the fact that you used an inexpensive paint. Now, a great deal of professional painters out there will use Solvent-Based paints. That's because of their exceptional toughness and surface.
# 1 your house will smell like chemicals for days or perhaps weeks, to the point you wouldn't even wish to remain there. # 2 These paints are a bitch to tidy up. You need to clean up everything with mineral spirits or paint thinner. # 3 It's difficult to spot solvent-based paint. Unlike water based paint, you can't simply easily paint over chips or scratches in the future. durable cabinet paint.
here check here check here